Jaguar Forum banner

My 5.0 XKR

18K views 30 replies 10 participants last post by  8bit  
#1 · (Edited)
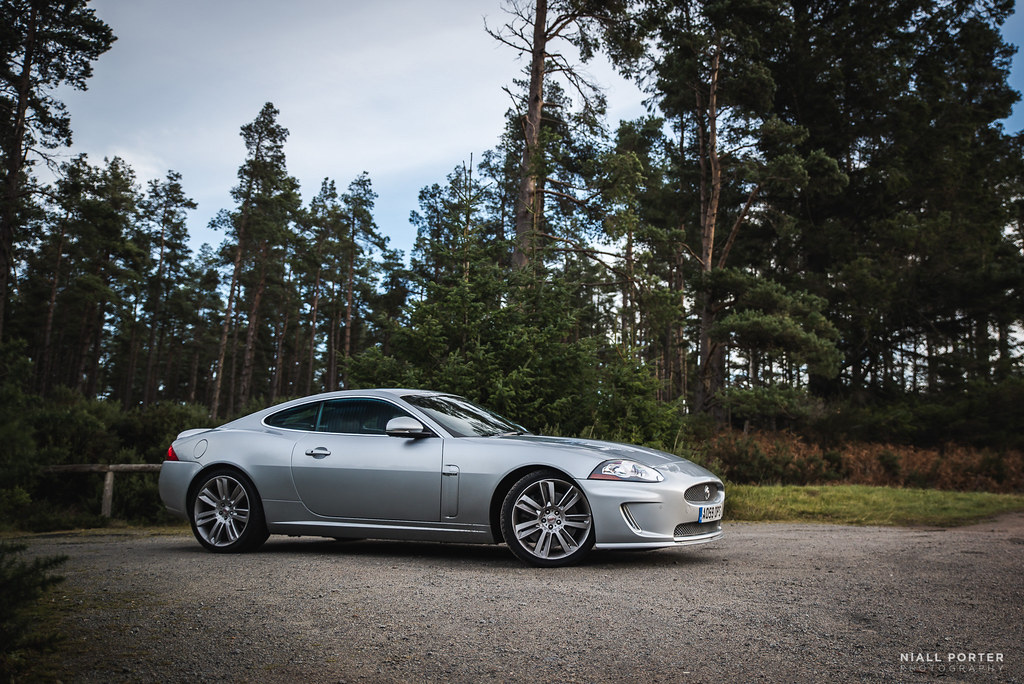
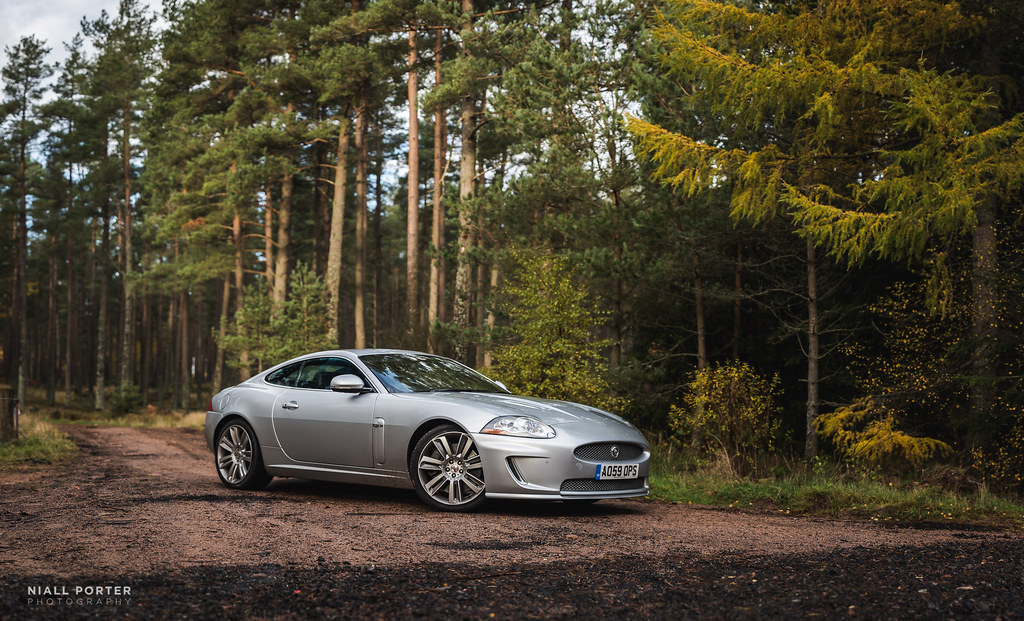
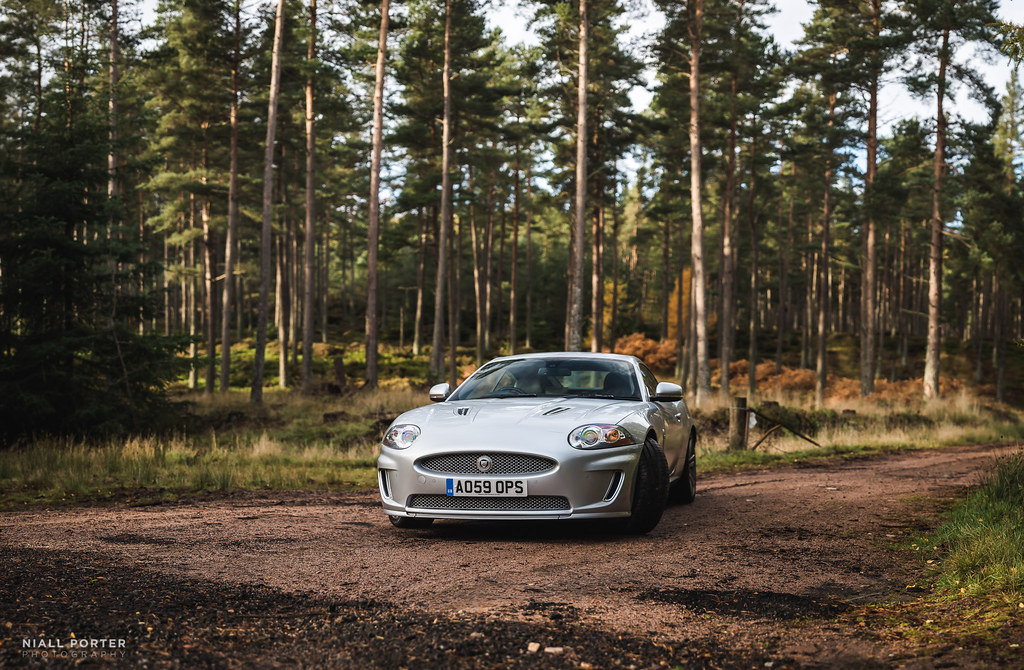
So after five mostly happy years driving around in my old 4.2 XKR (click for old thread) it was eventually time for a change. I spent a while considering other things - 911s, M3s, GranTurismos, Mustangs, C63 AMGs etc. etc. but couldn't think of anything else that ticked all the boxes and was available within budget. I did consider holding out for a nice 4.2 XKR-S or Portfolio but the pull of the larger engine was too strong (in more ways than one) so after a short search I found this at an independent dealer in Southport:

Image


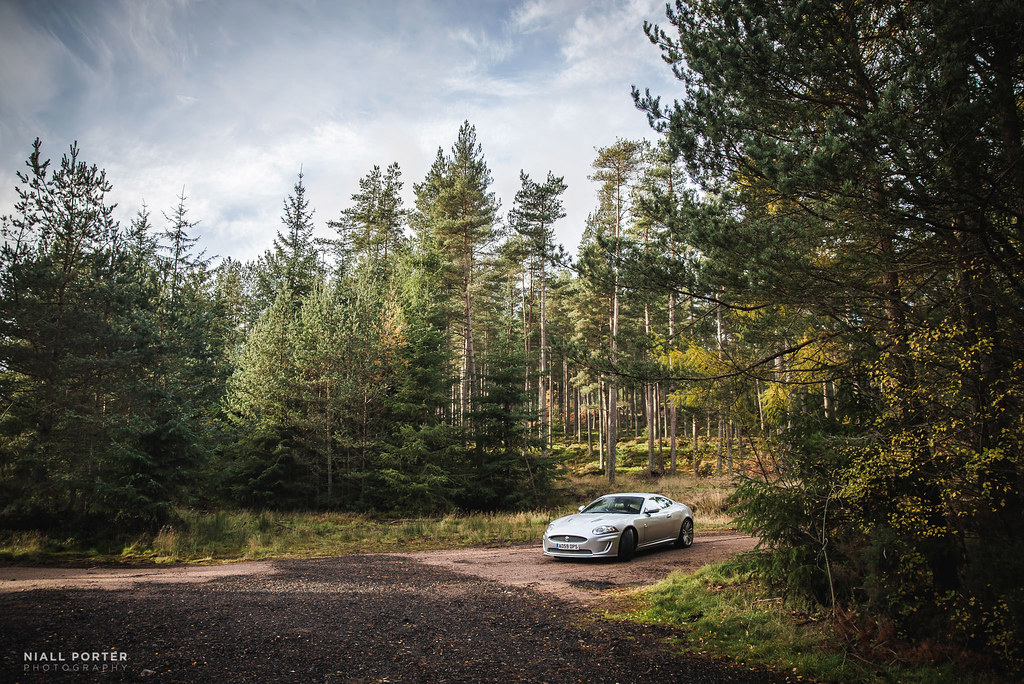
A couple of fellow forum members very kindly offered to go check the car out on my behalf (thanks again guys!) as I live about 6 hours from Southport and one of them went along for a look and a test drive. Following that and a couple of phone calls to the dealer, a trade in was agreed and deposit placed. Fast forward a couple of weeks and the new car was ready so I drove down and completed the exchange at the start of October and made the trip home.

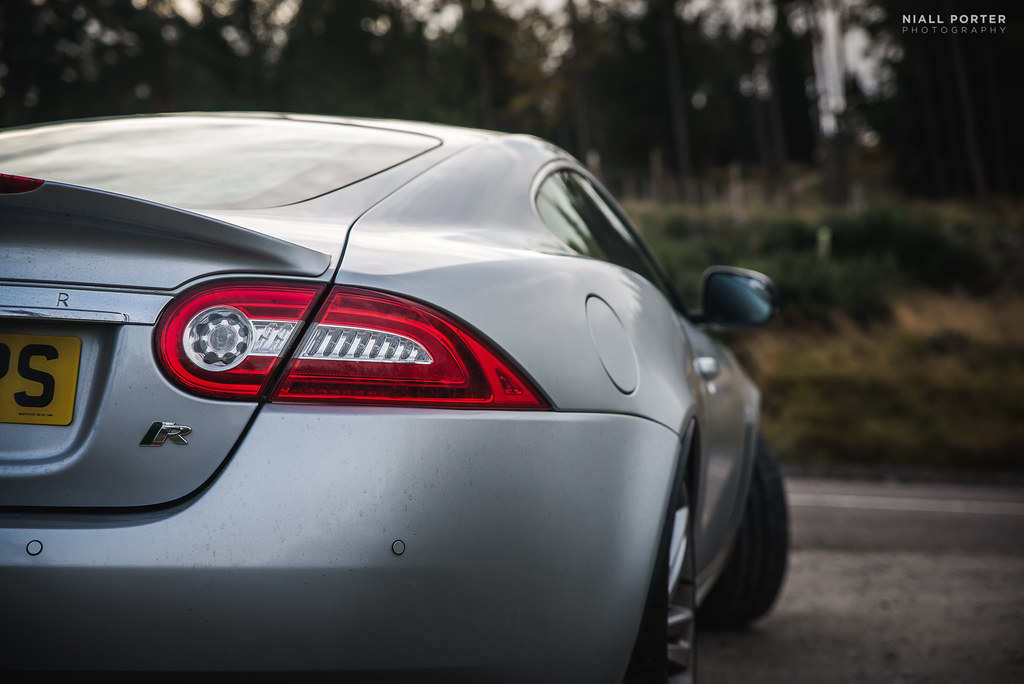
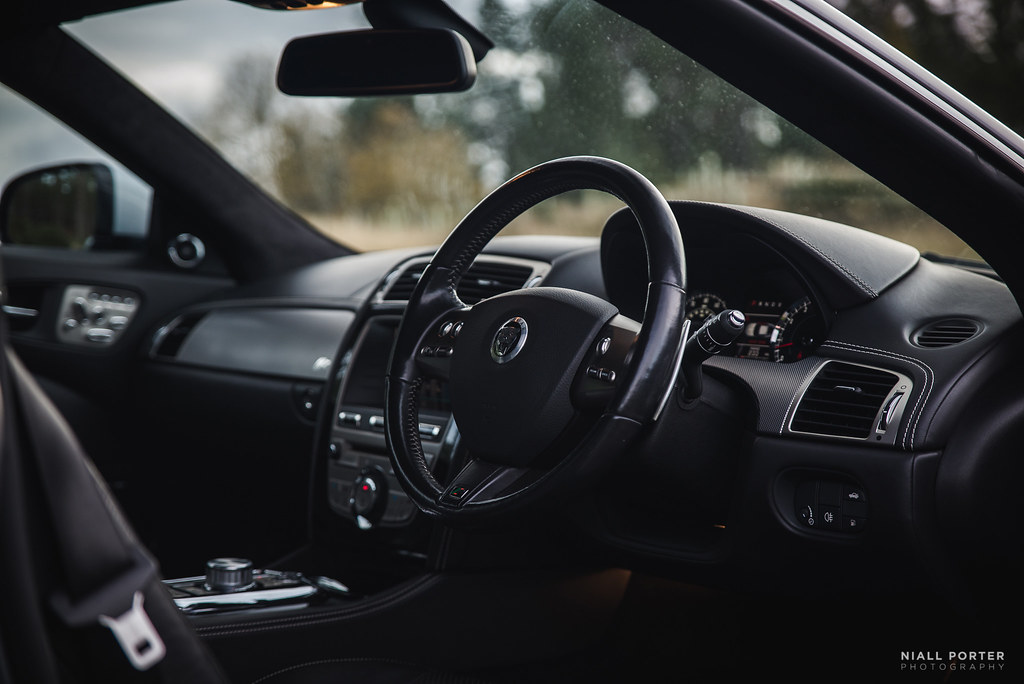
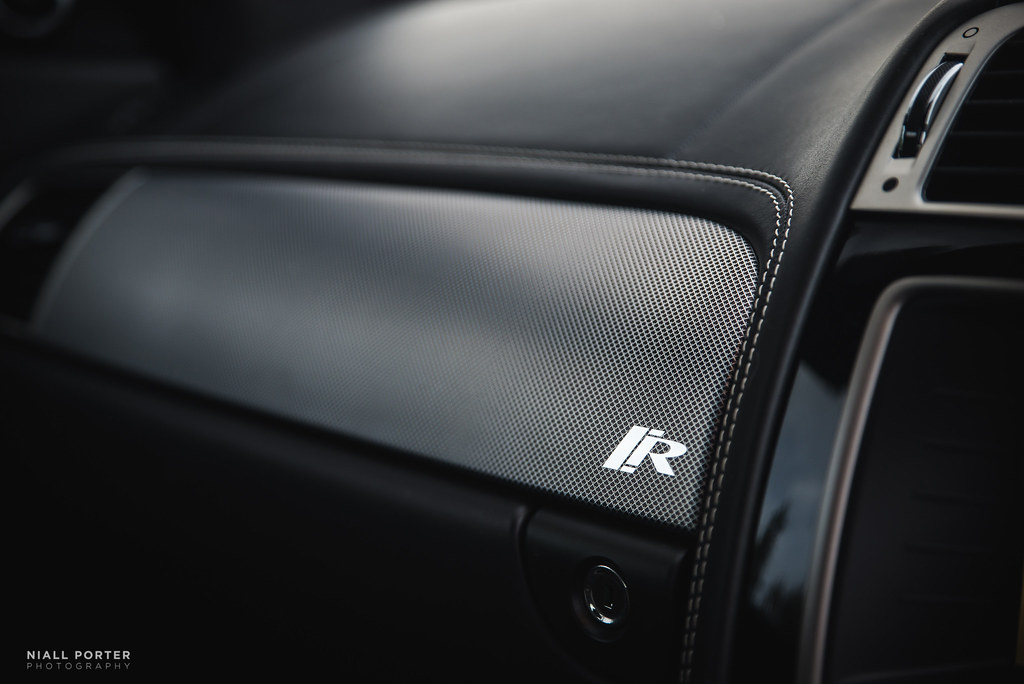
First impressions all very positive; it feels newer, tighter, much better built, interior is more luxurious and the exterior is in much better condition. Handling is more direct, firmer yes but not at the expense of any refinement. It does not attempt to hide it's weight the same way the older car did, it just feels like it's managing it better, more sports-car like experience overall. And the performance, still getting used to just how much faster it is, much more so than the raw figures would suggest...

Few little things to sort out, the windscreen washers were not working to start with (although the headlamp ones did), some investigation identified a blockage around the pump inlet pipe and further block somewhere just before the passenger-side jets. The iPod connection is a bit flaky - keeps losing connection to the iPod and doesn't charge it. The wheels need aligning too as the steering wheel is a degree or two off-center when the car is travelling straight ahead.

Other than that, very happy so far... Updates here as-and-when.
 
Discussion starter · #2 ·
First thing I had done was getting decent tyres on the car. I had a pair of nearly-new Vredestein Ultrac Vortis on the summer wheels from the old car so I had them swapped on to the 5.0. It needed new tyres for the MOT before sale so I asked the dealer to put Ultrac Vortis on there, so I have a full set of decent rubber from the outset. The rears on the new car were Dunlop SP SportMaxx things, no idea why Jaguar fitted those as standard as they can't cope with the torque the car can produce even on a dry day.

After the tyres were fitted the wheels and tyres were covered in that white grease they use so I took them all off, gave them a good clean up and inspected the condition of the brake parts and whatnot in the arches then refitted the wheels with a fresh set of nuts and lockers...

Image
 
Discussion starter · #3 ·
Took the new car out on Sunday morning past there and chucked my camera gear in the boot...

DSC_7730 by Niall Porter Photography, on Flickr

DSC_7732 by Niall Porter Photography, on Flickr

DSC_7741 by Niall Porter Photography, on Flickr

DSC_7745 by Niall Porter Photography, on Flickr

DSC_7756 by Niall Porter Photography, on Flickr

DSC_7757 by Niall Porter Photography, on Flickr

DSC_7755 by Niall Porter Photography, on Flickr

DSC_7761 by Niall Porter Photography, on Flickr

DSC_7783-Pano by Niall Porter Photography, on Flickr

DSC_7792 by Niall Porter Photography, on Flickr

DSC_7771-Pano by Niall Porter Photography, on Flickr

DSC_7797 by Niall Porter Photography, on Flickr

DSC_7801 by Niall Porter Photography, on Flickr
 
Discussion starter · #9 ·
Some winter progress has been made. Got the wheel alignment and geometry all sorted, the steering angle was slightly out due to toe angles incorrect at the front and some camber was out of spec so that's all sorted. Surprising how much better the car feels with everything pointing in the right direction. The little Skoda Fabia I had to cut around in for a while when the car was in the garage served as a reminder of how fortunate I am to own the XKR.

Managed to get the black pack grilles fitted over a couple of days either side of new year. Started looking like this:

Image


Got part way through changing the grilles and realised I needed a low profile wrench and torx set to get at the side grilles so it went to bed for a few days looking like this:

Image


After a good rummage around the garage, a New Year party, a hangover the likes of which I've not known since becoming a father and another day to recover I got it all sorted and stitched back together and now it looks like this:

Image


Image


Have to say, I'm not quite 100% sold on it yet! I'm not sure if it's because of the bonnet vents with grey mesh and chrome strakes, and/or the silver wheels but it sort of looks a bit unfinished or something. Or maybe I just need to see it like that a bit and get used to it. I think it's better than the silver grilles with chrome surrounds on the side grilles though. I'm not half-considering black wheels as per the real "black pack" spec, but that wouldn't have been the Nevis design I have now, would have been Kalimnos or Kasuga so half looking out for some black Kalimnos wheels.

I also changed out *all* the headlamp bulbs. I'd ordered the H1S xenons as the previous ones looked a bit dull and also ordered chrome/silvervision side marker and indicator lamps to get rid of the "fried egg" look as I did on my old car. I later decided to change the sidelights and cornering lamps as the lit up very much "warm" white/orange which looked odd in amongst the cool white of the Xenons and didn't really shine bright enough to be effective anyway. I've not been for a drive after dark since fitting them so can't attest to the efficacy of all of this yet but cosmetically it's all much more appealing. Before:

Image


After:

Image


The side marker and cornering lamp bulbs actually have a blue tint to the glass but they do shine white. You can't see the blue unless you actually get down low and look at them up close. Little things I know but I'd have felt like I'd done half a job if I hadn't gone the whole hog.

Next on the list, get round to installing the CTek charger and I've also ordered some LED interior bulbs. I may even wash the car tomorrow as it's now even grubbier than shown above...
 
Discussion starter · #17 ·
Cheers Chris! I've modified all my cars in some way, always gone for the "less is more" approach. The last thing I'd want to do is turn something like an XKR into a boy race car...

I was looking on another forum last night and found a shot of a silver 5.0 car with the black pack grilles and black Nevis wheels:

Image


I don't think I'd do the wing louvres in black and I definitely won't be doing what they've done with the splitter under the front lower grille but the wheels look better in black than I thought they would. Ordinarily I'm not a fan of black wheels either except maybe on a red car as you have to keep applying tyre dressing or the tyres look lighter than the wheels and that just looks silly. Salsa red with black pack looks amazing, I almost wish I'd held out for that.

Incidentally it's hard to tell from the angle of that shot but it looks like that car has the same bonnet vents as mine has:

Image


I've been wondering what to do with these now I have the black grilles, I think from that other car photo that they've maybe done the outer part and the mesh in gloss black and left the chrome section as is, that might work...
 
Discussion starter · #20 ·
Fitted (most of) the interior LED lamp bulbs I bought last week. Got the cabin ones done - one in each footwell, the two map lights and the courtesy light in the overhead console. I went for Osram cool white bulbs, I just like their look better. This was shot with only the offside footwell bulb changed, for comparison's sake:

Image


And this is after fitting the whole lot, with them all switched on:

Image


Please excuse the glare on the left of the photo, I managed to lean heavily on my phone while using it as a torch last week when changing the front grilles and now the outer lens on the camera is cracked...

I did also get a couple of bulbs to fit in the lamps in the boot but it turns out they're too big so will have to have a think on that one. I know another member (joc64) just adapted the fittings to take the longer bulbs but I'll see if I can do it without having to.
 
Discussion starter · #22 ·
It's illegal to use interior lights like those while moving in the dark anyway isn't it? For the most part, almost the only passenger I ever have is my 2.5 year old son, I take him to nursery two days per week so there's no big concern there.

Round things, you mean in the center console at the bottom of the shot? Yes they are cup holders. Is it because they're not the same size? :) They're normally obscured by the armrest when it's in the forward position, it can slide backwards and then raise up to allow access to a small storage bin behind those. I just pulled the armrest back to drop the old bulbs into while I was working away.
 
Discussion starter · #24 ·
Cheers Maz. I have something similar to that brush, it's fairly handy but still misses bits, doesn't really get round the back of the spokes and although mine looks smaller than that it has a hard time getting in between the caliper and the inner drum of the wheel so there's always a big patch missed. I loved the Cremona wheels I had on my old car as they were so easy to keep clean, just a shame they wouldn't fit the new car. They're still for sale, in case anyone's interested :)

Regards Plasti-dip, yes that's what I was talking about. I just meant as a way to see how it looks on the car, maybe even just do two wheels on one side so I can get a proper look at it. I have used it before, I did a set of front grilles on the old car in black and then added their gloss coat, didn't like the finish there either so I binned it. I used it recently to black out the silver parts visible behind the upper radiator grille, so they didn't show through brightly once the black grille was in place.

Thanks for the tip, if I did apply it then it'd just be to see how it looks with the black wheels before committing to having them done properly!
 
Discussion starter · #28 ·
So I was greeted one morning recently with this on the dash:

Image


Given that there are sensors at the front and rear of the car it seems a bit silly that it couldn't at least tell me which end needed new pads but there we go. I checked the handful of service history and healthcheck documents I got with the car, on the healthchecks they estimated the rear pads to be more worn than the fronts so I tackled those this weekend. Didn't bother replacing the discs as they look OK, only a small lip around them. The front pads didn't arrive in time but I think I'll change the discs there too as they've got more of a lip and they feel a bit grindy from cold.

Also applied new R logo decals on the logo plates and gave them a bit of clear lacquer:

Image


Once that was done I installed the Ctek comfort connector, which immediately started flashing red. Left the car plugged in overnight, will keep an eye on it to see how well it holds a charge.

Finally, removed fuse 19 for the active exhaust valves. Fairly minimal difference really but it beats having to drive everywhere in Dynamic Mode just to hear the engine note that little bit better...
 
Discussion starter · #29 ·
Small update again, got round to replacing the R badge on the tailgate as the original one was tatty and missing some of the red bits. Here's a little how-to in case anyone else fancies doing the same:

You will need (or at least, this is what I used):
- A new badge (the one pictured is C2P14325 from a dealer)
- Some dental floss
- A hair dryer or similar
- Some Tar Spot remover
- An old or disposable microfibre cloth
- An old credit card
- Some masking tape
- A pen

Put a strip of masking tape along one side of the badge. I used the side (rather than underneath) intentionally, I'll explain later on. Mark the tape with the pen to show the edges of the badge. This is to help you correctly align the new badge later:

Image


Use the hairdryer to warm the badge up until it's almost too hot to touch. This is to soften the adhesive behind it which holds it to the car. Once it's hot, take a length of the dental floss and pull it round behind the badge and using a back and forth sawing motion, cut through the adhesive. It should cut fairly easily if it's hot, the badge then falls or pulls off and leaves something like this:

Image


Put a bit more heat on the remaining adhesive and gently push against one side of it with the old credit card to roll it back, once the worst of it is off you'll have something like this:

Image


Spray a little tar remover on the dirty area, let it work for a moment or two and rub gently with the old microfibre to clean it up. I had to repeat this a few times. This is why I didn't put the masking tape underneath the badge; the tar remover can run down and attack the tape, making it hard to line the new badge up neatly. Get it as clean as you can here so the surface is ready for the new badge:

Image


Now it's just a case of attaching the new badge using the tape and the lines on it to line it up. Take care to ensure you don't place the badge so part of the adhesive backing is on top of the tape. Push firmly on the badge for 30 seconds or so to make sure it gets a firm bond. Remove the tape and clean the area around it.

Image


I have a new set of front brake pads and discs, planning to do them this weekend if I get time and weather.

Oh, and I might have bought a new exhaust... ;)
 
Discussion starter · #31 ·
Thanks :) The decals come on some transfer tape, press them into place and go over them a few times with a credit card or similar and then peel off the transfer tape. I did go over the logo plates a few times with clear lacquer though, just to seal them on.